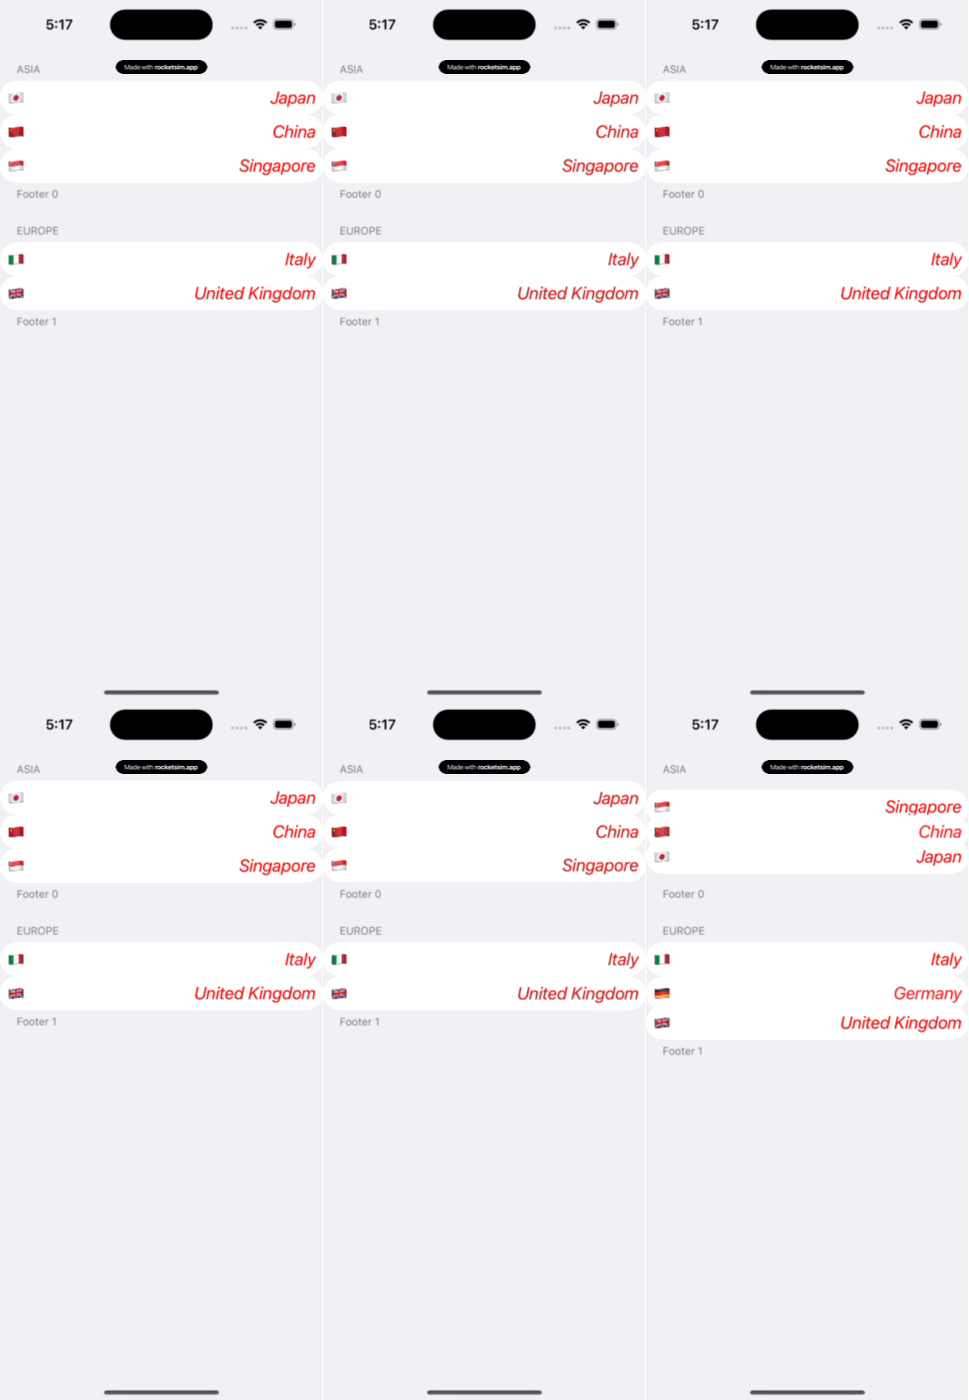
Since iOS 14, there are lots of “features” and changes to UICollectionView, making it possible to create a standard table/list UI. This WWDC 2020 session introduced the modern way of doing old things, with a huge sample code.

I will not be using all the “modern features”, specifically the decomposition of a cell to content configuration and background configuration is tedious.
The View Controller
We will use a ViewModel, which provides the models for the collection view. For this example, the section will be Continent while the items are Country.
A skeleton setup of the view controller is as such.
class ViewController: UIViewController {

    private let viewModel = ViewModel()

    override func viewDidLoad() {
        super.viewDidLoad()

        view.addSubview(collectionView)
        updateDataSource(animatingDifferences: false)
    }

    private func updateDataSource(animatingDifferences: Bool = true) {
        ...
    }

    private lazy var dataSource: UICollectionViewDiffableDataSource<Continent, Country> = {
        ...
    }()

    private lazy var collectionView: UICollectionView = {
        ...
    }()

}
We will look at each of the missing parts.
Data Source
With the new NSDiffableDataSourceSnapshot, the old ways of using the delegate pattern via UITableViewDataSource is no longer necessary.
While it is merely a change in the design pattern, it does enforce a diffable model, which makes animating the differences possible.
In our updateDataSource(), we simply update dataSource with a snapshot from our view model. Whenever the UI needs to “reload”, simply call it.
private func updateDataSource(animatingDifferences: Bool = true) {
    var snapshot = NSDiffableDataSourceSnapshot<Continent, Country>()

    /// Update via view model
    snapshot.appendSections(viewModel.continents)
    viewModel.continents.forEach {
        let countries = viewModel.countries(for: $0)
        snapshot.appendItems(countries, toSection: $0)
    }

    dataSource.apply(snapshot, animatingDifferences: animatingDifferences)
}
UICollectionViewDiffableDataSource
The dataSource object is a UICollectionViewDiffableDataSource, which requires the the section and item models, in this example it is <Continent, Country>.
This is how we created it, along with the cell provider closure.
private lazy var dataSource: UICollectionViewDiffableDataSource<Continent, Country> = {
    /// 1. Cell provider to configure the cell with the indexPath/model
    let cellRegistration = UICollectionView.CellRegistration<CountryCell, Country> { cell, indexPath, country in
        cell.configure(with: country)
    }

    var datasource = UICollectionViewDiffableDataSource<Continent, Country>(collectionView: collectionView) { collectionView, indexPath, country in
        /// The dequeue happens here, using the cellRegistration (no more cell identifiers)
        return collectionView.dequeueConfiguredReusableCell(using: cellRegistration, for: indexPath, item: country)
    }

    /// 2. Header/Footer/Supplementary views provider
    /// Use a standard `UICollectionViewListCell` as the view
    let headerRegistration = UICollectionView.SupplementaryRegistration<UICollectionViewListCell>(elementKind: UICollectionView.elementKindSectionHeader) { [unowned self] supplementaryView, elementKind, indexPath in
        guard let continent = self.dataSource.sectionIdentifier(for: indexPath.section) else { return }

        var config = supplementaryView.defaultContentConfiguration()
        config.text = continent.description
        supplementaryView.contentConfiguration = config
    }
    dataSource.supplementaryViewProvider = { collectionView, kind, indexPath in
        return collectionView.dequeueConfiguredReusableSupplementary(using: headerRegistration, for: indexPath)
    }

    return datasource
}()
All of these should be fairly similar, except we now pass these registration closures to the data source, and no more cell identifier!
For the cell, I have a custom CountryCell with a self-configuring method. If you use a UICollectionViewListCell, you will get the standard table cells style.
As for the header view, I am using the UICollectionViewListCell, which has a content configuration & view – the modern way is to configure.
The data source is initialized with the collection view.
Collection View
Lastly, the collection view has to be initialized with a list layout.
private lazy var collectionView: UICollectionView = {
    /// Use the configuration to define the background color, etc
    var layoutConfig = UICollectionLayoutListConfiguration(appearance: .grouped)
    layoutConfig.headerMode = .supplementary

    /// Other configs
    layoutConfig.showsSeparators = false
    layoutConfig.leadingSwipeActionsConfigurationProvider = { ... }

    /// This is the "list/table layout"
    var layout = UICollectionViewCompositionalLayout.list(using: layoutConfig)

    let collectionView = UICollectionView(frame: view.bounds, collectionViewLayout: layout)
    collectionView.autoresizingMask = [.flexibleWidth, .flexibleHeight]
    collectionView.delegate = self
    return collectionView
}()
Again, the way is to use a list configuration object, and then create the compositional layout with it. You can configure various properties to do with the layout.
Yet, it is weird that certain configurations such as the leadingSwipeActionsConfigurationProvider is also part of the layout.
The headerMode is required for having a header. If you provide a header registration to the data source, you still must configure it in the layout.
Selecting an item
While UICollectionViewDataSource is gone, you still need the delegate for selecting an item etc.
extension ViewController: UICollectionViewDelegate {
    func collectionView(_ collectionView: UICollectionView, didSelectItemAt indexPath: IndexPath) {
        /// Get the model from dataSource
        guard let country = dataSource.itemIdentifier(for: indexPath) else { return }
        print("Selected \(country.name)")
        collectionView.deselectItem(at: indexPath, animated: true)
    }
}
Hmm. A mix of patterns.